Bladesmith
- Introduction
- Sponsorware
- Setup
- Image
- Building Navigations in Litstack
- Translatable Routes
- Helpers
- Customize Views
Introduction
A package with helper functions and Blade components for your Litstack project.
Sponsorware
Bladesmith was created by Lennart Carstens-Behrens under the Sponsorware license.
Sponsor litstack to get access to this package.
Setup
Add the Litstack repository to your application's composer.json file:
"repositories": [
    {
        "type": "composer",
        "url": "https://store.litstack.io"
    }
],
composer require litstack/bladesmithTo include all styles and scripts the x-styles tag must be placed in the head
and the x-scripts tag at the end of the body.
<!DOCTYPE html>
<html lang="en">
    <head>
        ...

        <x-styles />
    </head>
    <body>
        ...

        <x-scripts />
    </body>
</html>
Image
The image component uses lazy loading to preview a base64 string of the image before loading it. The image will be loaded when it gets scrolled into the screen. The component also outputs the appropriate media conversion for the corresponding screen sizes.
The component requires an image parameter with a media model:
<x-lit-image :image="$model->image"/>
Lazy loading may disabled by setting the lazy attribute to false:
<x-lit-image :image="$model->image" :lazy="false" />Building Navigations in Litstack
Every page needs a navigation. Building it often takes time, especially if the
design has to be adapted exactly to your needs. The Ui kit comes with a simple
extensive solution to include all possible navigations types that are built with
a list field in a short time.
Create the Form
We start by creating a form in that we can build our navigation:
php artisan lit:form navigations main_navigationThe next step is to add a nav field to the newly created config file:
namespace Lit\Config\Form\Navigations;

class MainNavigationConfig extends FormConfig
{
    public function show(CrudShow $page)
    {
        $page->card(function ($form) {
            $form->nav('main')->title('Main Navigation')->maxDepth(3);
        });
    }
}
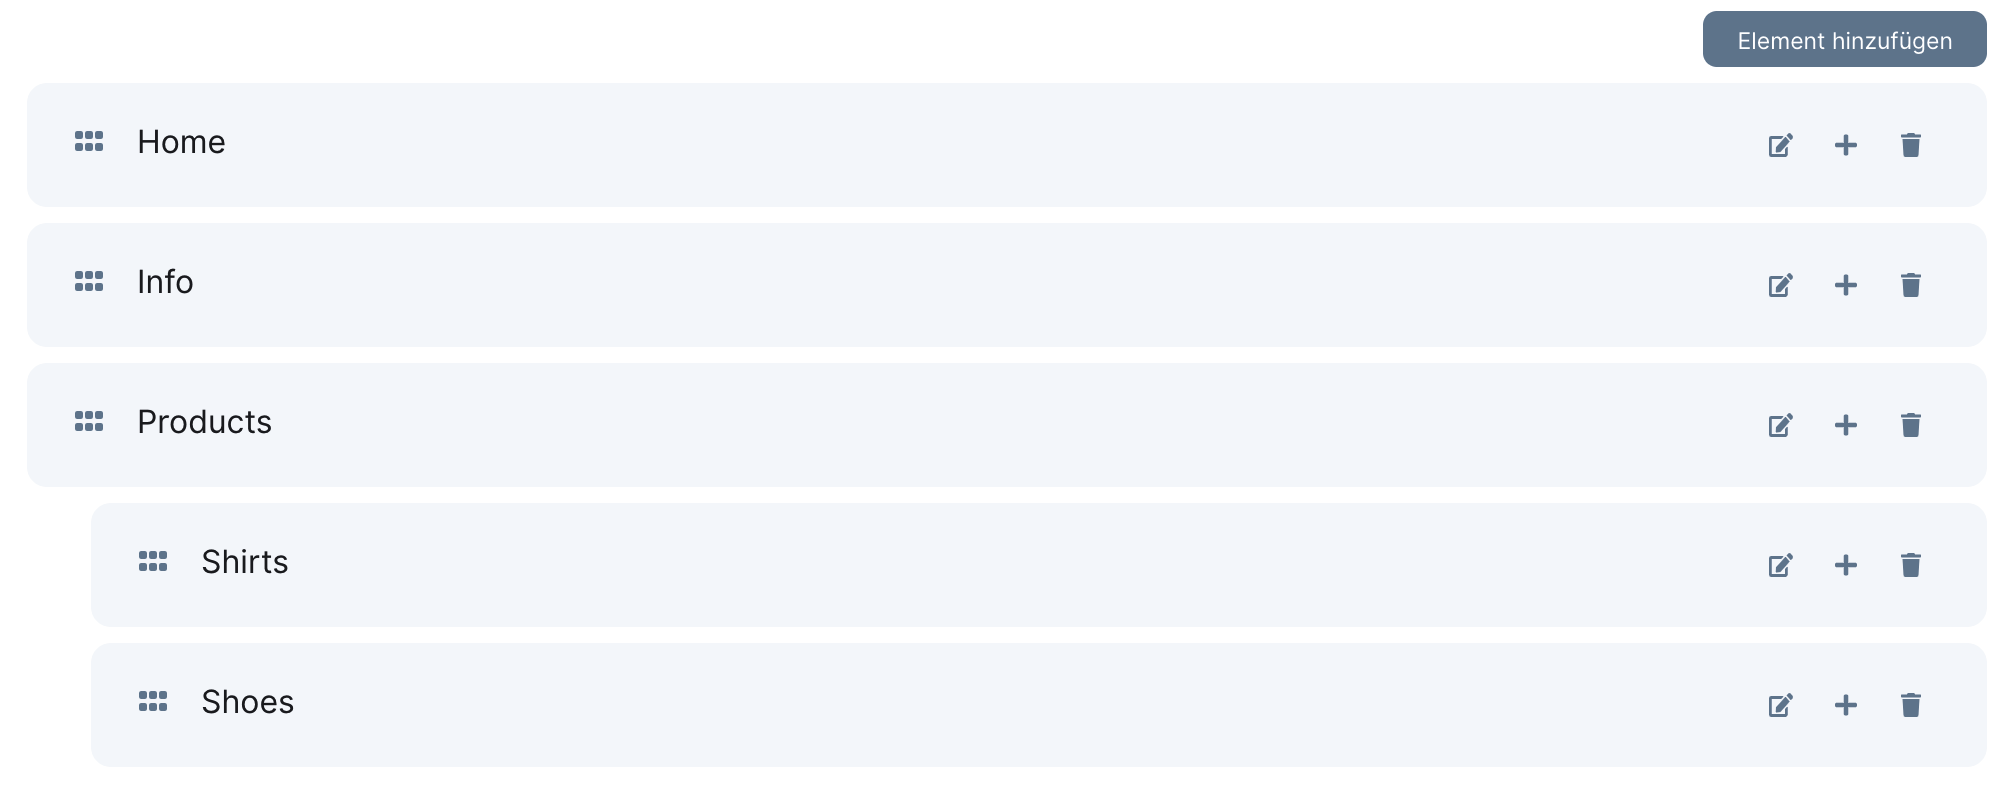
Now we can simply pass the list field to the x-lit-nav-list component and a
navigation is created that can be build in the litstack backend:
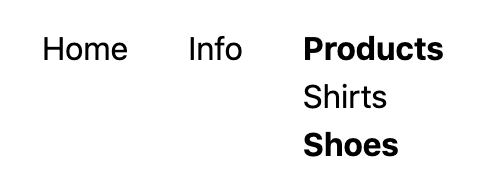
Display the Navigation
use Ignite\Support\Facades\Form;

$nav = Form::load('navigations', 'main_navigation');

<x-lit-nav-list :list="$nav->main" layout="horizontal" dropdown/>
This will result in the following simple horizontal navigation:
Customize the navigation using the following options
| Method | Description |
|---|---|
layout |
Can be horizontal or vertical. (default is vertial) |
dropdown |
Wether the navigation should be a dropdown menue on mouseover. |
depth |
Max depth. |
subLevel |
Start depth. |
expandable |
Only display's level one, all child levels can be expanded on click. |
class |
Navigation class. |
activeClass |
Class of active items. (default is: lit--active) |
Translatable Routes
Build translated routes in the form of /en/home, /de/startseite made easy.
Make shure to translate your routes within your translation-files in the
resources directory, for example:
// lang/de/routes.php

return [
    'home' => 'startseite'
];
You can now simply add translated Routes to your preferred routes file using the
__() helper in the uri string like this:
Route::trans('/__(routes.home)', 'HomeController@show')->name('home');A translated route will be created for all locales defined in your
translatable config. The locale will be prepended to the given uri and
name. So the routes for the previous example would be:
en.home=>/en/homede.home=>/de/startseite
The __route helper prepends the current locale to the given name and returns
the corresponding route:
<a href="{{ __route('home') }}">
    ...
</a>
Switching Languages
You may want to place a link to the different language route on your website. To
do this, the translate method can be applied to the current route with the
desired locale.
<a href="{{ Request::route()->translate('de') }}">Deutsch</a>With Parameters
For routes with parameters a translator must be specified. A translator is a controller method that returns the route parameters for the desired locale. The translator method receives the desired locale and the parameters for the current locale.
// ./routes/web.php
Route::trans('/{slug}', 'MyController@show')->translator('getSlug')->name('home');

// ./app/Http/Controllers/MyController.php

...

class MyController extends Controller
{
    ...

    public function getSlug($locale, $slug)
    {
        $slug = Post::whereTranslation('slug', $slug)
            ->first()
            ->translate($locale)
            ->slug;

        return ['slug' => $slug];
    }
}
Language Switch
The Blade componend x-lit-localize creates a link to the translated routes of
all locales.
<x-lit-localize />Result:
<a href="/en/home" class="locale locale-en locale-active">EN</a>
<a href="/de/startseite" class="locale locale-de">DE</a>
You may change the content of the link By passing a slot with the name of the locale:
<x-lit-localize>
    <x-slot name="en">
        English
    </x-slot>
    <x-slot name="de">
        Deutsch
    </x-slot>
</x-lit-localize>
Result:
<a href="/en/home" class="locale locale-en locale-active">English</a>
<a href="/de/startseite" class="locale locale-de">Deutsch</a>
Helpers
child_is_active
The child is active determines wether a list item has a child with an active
route. The following example will add the is-active class when a list item has
an active route that is added from route field.
$form->route('route_field')->collection('app')->title('Pick a route.');@foreach($data->list as $item)
<span class="child_is_active($item, 'route_field', 'is-active')">
{{ $item->title }}
</span>
@endforeachCustomize Views
If you want to customize the blade components, you can simply publish them and edit them as desired.
php artisan vendor:publish --provider="Litstack\Bladesmith\BladesmithServiceProvider" --tag=views